Recreational Services
Explore, Stay Fit, Have Fun!
At Rec Services our mission is to provide a positive influence on the physical and mental well-being of our University of Portland community. Whether you're already a fan of recreation and fitness or you're testing the waters, you will find amazing community support as well as engaging programs and experiences with your Rec Services team. Start your journey at our award-winning home base, the Beauchamp Recreation & Wellness Center.
Rec Services Programs
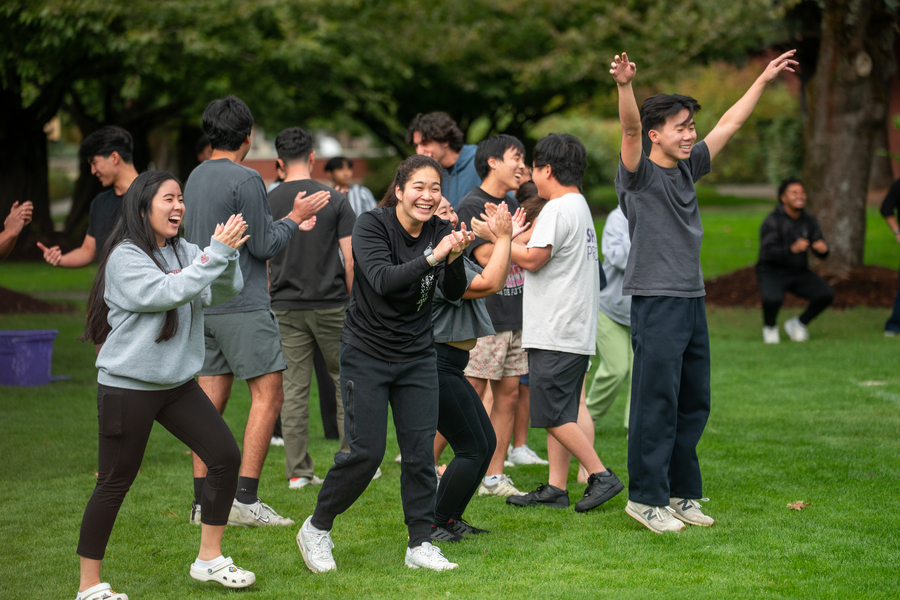
Intramural Sports
Enjoy friendly competition and stay fit with intramural sports. We have leagues for individual, dual, and team sports, at recreational or more competitive levels for students, faculty, and staff. Employment as sports officials available!
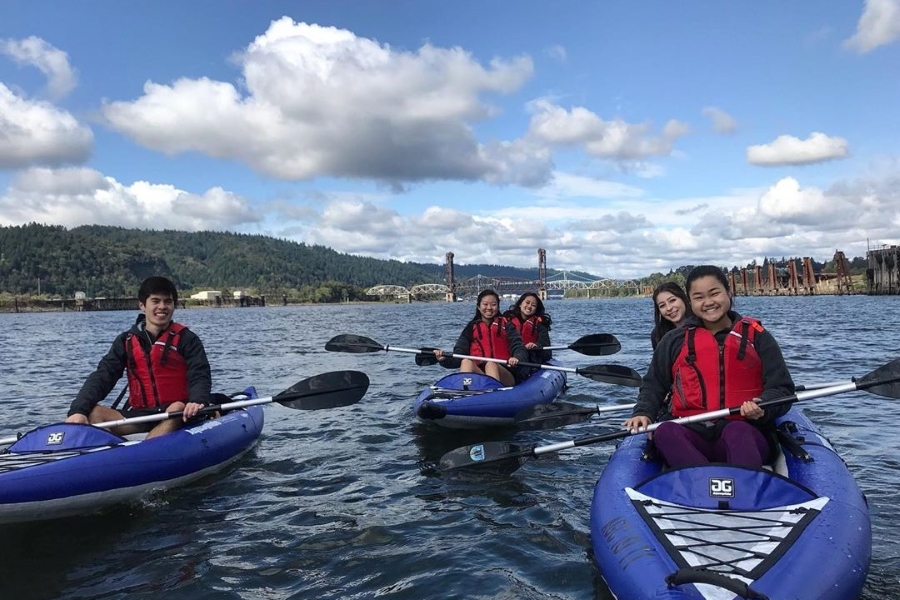
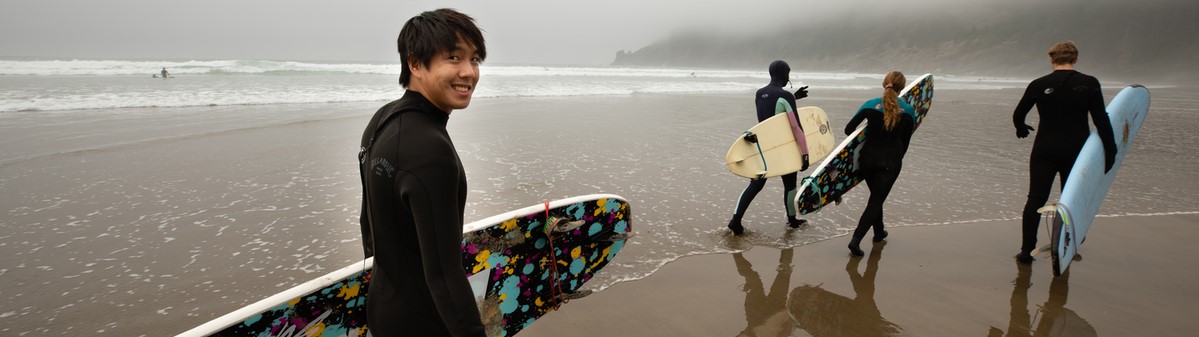
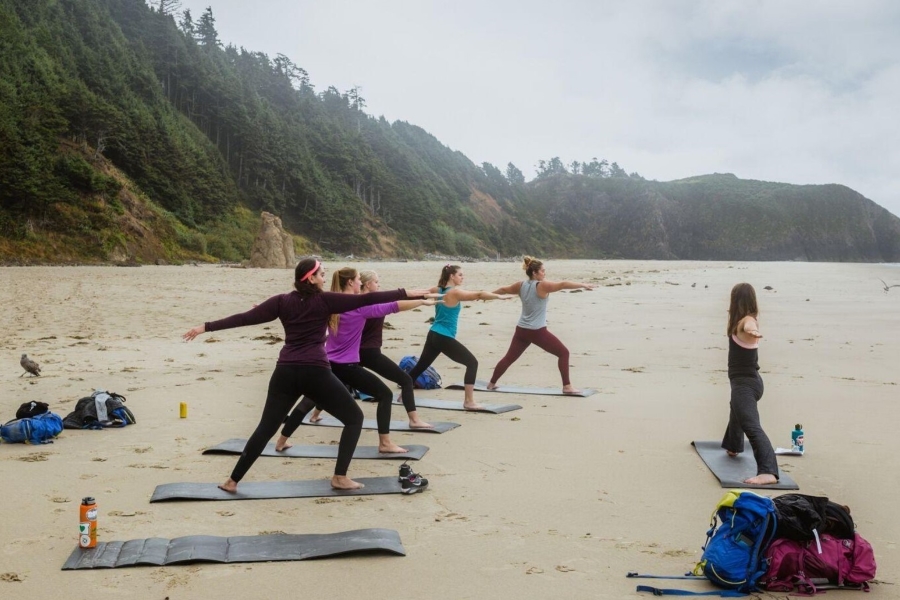
Outdoor Pursuits
Portland is the perfect starting point for amazing outdoor adventures and our Outdoor Pursuits program has everything you need to explore the beautiful Pacific NW with your friends—learn to rock climb, go mountain biking, hike a waterfall, rent outdoor equipment, and more.
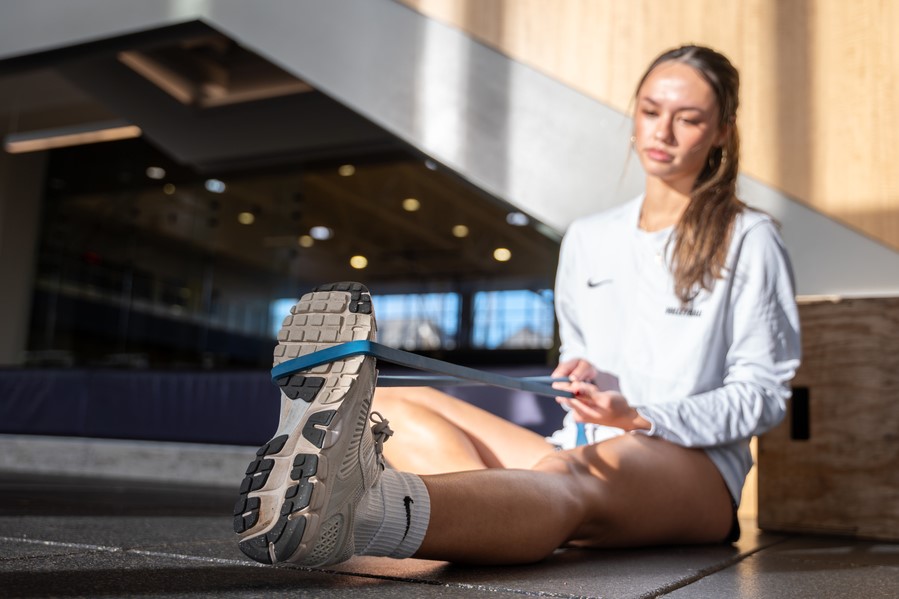
Fitness Classes
Drop in to the beautiful 72,000 square foot Beauchamp Recreation & Wellness Center for a workout of your own, or come to one of our fitness classes, taught by UP students. Our 3 fitness studios host classes in everything from ballet to yoga to HIIT.
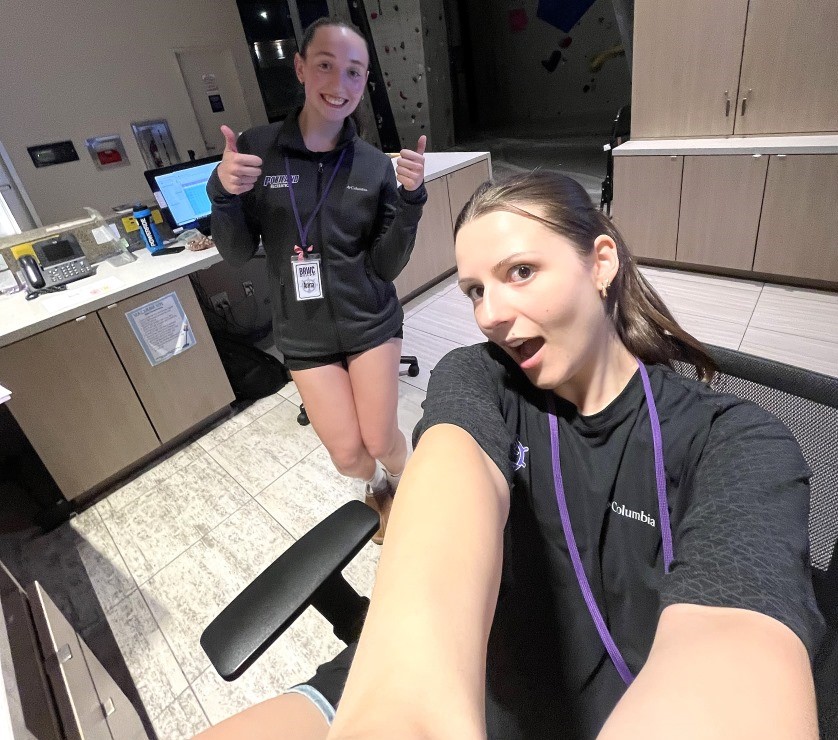
Student Employment
Want to have fun while you work? Rec Services employs over one hundred UP students as fitness instructors, outdoor pursuits trip leaders, and more. Become a Beauchampion and find your spot on our team!
Keep In Touch
Visit our programs and services on social for the latest updates and information.
Going UP?
Go farther and dream bigger than you ever thought possible. Join a community that's on a mission to change the world for the better. New experiences are waiting.